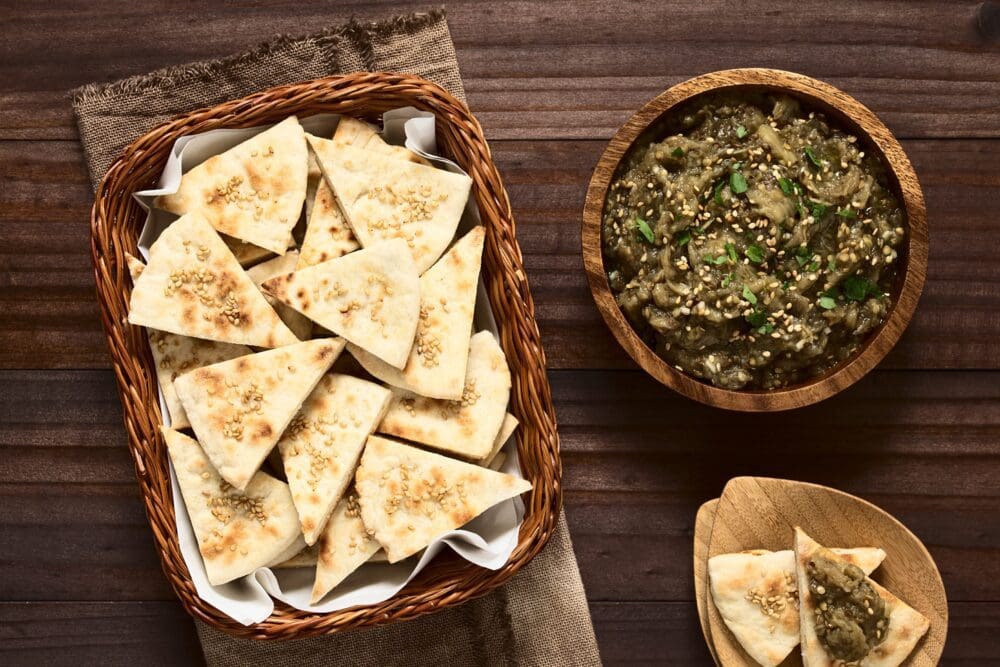
Pita is one of those perfect breads. It can be used on its own, or become the housing for a sensational filling. Don’t worry. It’s easy and not overly time consuming. Better still, you get it fresh out of the oven. No possibility of them being stale.
What would souvlaki be without pita, or greek salad for that matter? If you make your pita crispy they become chips for any number of dipping sauce like:
- Balsamic Italian blend
- Curry dip
- Cucumber ranch
- Dill and vegetable
- Pineapple pico
- Roasted red pepper
- Seasoned refried beans
- Shrimp with feta and cream cheese
- TzatzikiTips for Success: You can substitute active dry yeast for the instant yeast in this recipe. To know if your dough is well-kneaded, it should be smooth. Give it a poke with your finger. It should bounce back quickly. As with other bread recipes, you can use a little oil on your hands to keep the dough from sticking.

Pleasing Pita
Pita is one of those perfect breads. It can be used on its own, or become the housing for a sensational filling. Don’t worry. It’s easy and not overly time consuming. Better still, you get it fresh out of the oven. No possibility of them being stale. What would souvlaki be without pita, or greek salad for that matter? If you make your pita crispy they become chips for any number of dipping sauce like:- Balsamic Italian blend- Curry dip- Cucumber ranch- Dill and vegetable- Pineapple pico- Roasted red pepper- Seasoned refried beans- Shrimp with feta and cream cheese- TzatzikiTips for Success: You can substitute active dry yeast for the instant yeast in this recipe. To know if your dough is well-kneaded, it should be smooth. Give it a poke with your finger. It should bounce back quickly. As with other bread recipes, you can use a little oil on your hands to keep the dough from sticking.
Ingredients
- 3 ½ cups flour
- 1 ½ tsp instant yeast
- 1 tsp kosher salt
- 1 ½ cup filtered water
- 2 tbsp Extra Virgin olive oil
Instructions
- Get out a large mixing bowl
- Whisk together the yeast, salt, sugar and flour
- Incorporate the olive oil and water. Use your spatula to scrape the sides until the dough forms a ball
- Put the dough on a clean, dry surface. Put some flour on your hands to prevent sticking.
- Knead downward and outward away from you using the palms of your hands.
- Fold the dough in half and press down
- Repeat the kneading (including the fold) 5 times
- Give the dough a short resting period for 5 minutes
- Now repeat your kneading process. In about 2-3 minutes your dough ball should be smooth.
- Test the dough by poking it with your finger. The mark should bounce right back. If it doesn’t, knead a little more.
- Return the dough to the mixing bowl and cover it with plastic wrap for 1 hour. It should double in size.
- Lightly flour your work surface
- Roll the risen dough into a log on the surface
- Separate it into 10 pieces
- Cover these with a damp cloth to avoid drying
- One piece at a time, shape the slice into a ball.
- Let the balls rest for a half hour
- Roll each ball into a rough 6-inch circle. Place them on a floured surface.
- Cover with a towel
- Take each ball and roll it into a 6” circle. You may need to flour your rolling surface to prevent sticking.
- Rest for 10 minutes.
- Now for the fun part - cooking! Take out a skillet and brush it with olive oil.
- Preheat the pan (medium-high) for about 3 minutes.
- Place one pita on the surface and let it cook
- After about 3 minutes it should puff up. Flip it.
- Cook for 2 more minutes (it will puff on the other side too)
- Repeat with the rest of the pita
- Cool on a wire rack
Notes
Storage: Pitas last for about 3 days when kept in an airtight food storage bag. Alternatively put the bag into the freezer for up to three months.


